Blog / Guide
Color grading for corporate video: visual consistency from set to delivery
What color grading is in corporate video, how it's done in DaVinci Resolve and which mistakes to avoid so every shot looks like it was filmed on the same day.
When I deliver a corporate video, the first thing the client usually comments on is the image. Sometimes they use exactly that word; other times they say 'the quality is great' or 'it looks really professional'. Almost always, what they're talking about is the color grading.
Color correction and grading are the difference between a video that looks like it was shot on a phone and one that looks like a real production. It isn't magic. It's workflow.
What color grading is and why it matters
Color grading is the process of manipulating the color values of recorded footage to achieve a consistent, intentional visual result. It ranges from basic correction — accurate whites, balanced exposure — to the final look: a specific tone, a defined atmosphere.
In corporate video you're not after an aggressive cinematic look. You want a clean image, flattering skin tones and recognizable brand colors. And above all, you want every shot in the same video to look as if it was filmed on the same day with the same camera.
I work mainly in DaVinci Resolve. It has the best color management on the market for this kind of production and, unlike Premiere, color correction isn't an add-on: it's the core of the software.
How to do it properly
Primary correction: the foundation
The first step is primary correction. Match the exposure across all shots, fix the white balance, lift the shadows if they're too crushed. If you shoot in a Log profile — S-Log2, S-Log3, C-Log — you first need to apply a technical LUT to bring the image into a standard color space such as Rec.709 before touching anything else.
This stage has nothing to do with style. It's problem-solving: the interview in the meeting room that came out cold, the B-roll shot that's brighter than the previous one, the exterior take that's slightly overexposed. Without a solid foundation, any look you apply on top will fall apart.
Look and mood: from Log to Rec.709
Once the image is technically corrected, you can work on the look. In corporate video I tend towards neutral tones, slightly warm for interiors, with healthy skin saturation and understated backgrounds. No aggressive channel mixing or color shifts that distort the company's brand blue.
I build the look with nodes in DaVinci: one for the contrast curve, another for hue adjustments with Hue vs Saturation, and a third for skin tone qualification if there's a lot of variation between subjects. Keeping everything on separate nodes lets me review and tweak each element without undoing earlier work.
Shot-to-shot consistency
This is what separates someone who knows how to grade from someone who only knows how to use LUTs. Consistency. Two shots from the same interview have to look exactly the same, even if they were filmed half an hour apart and the light has changed.
I use the vectorscope and waveform to compare shots, not the laptop screen. Screens lie. Scopes don't. If the vectorscope tells me the skin in one shot is more saturated than in the previous one, I correct it even if it looks the same to the eye.
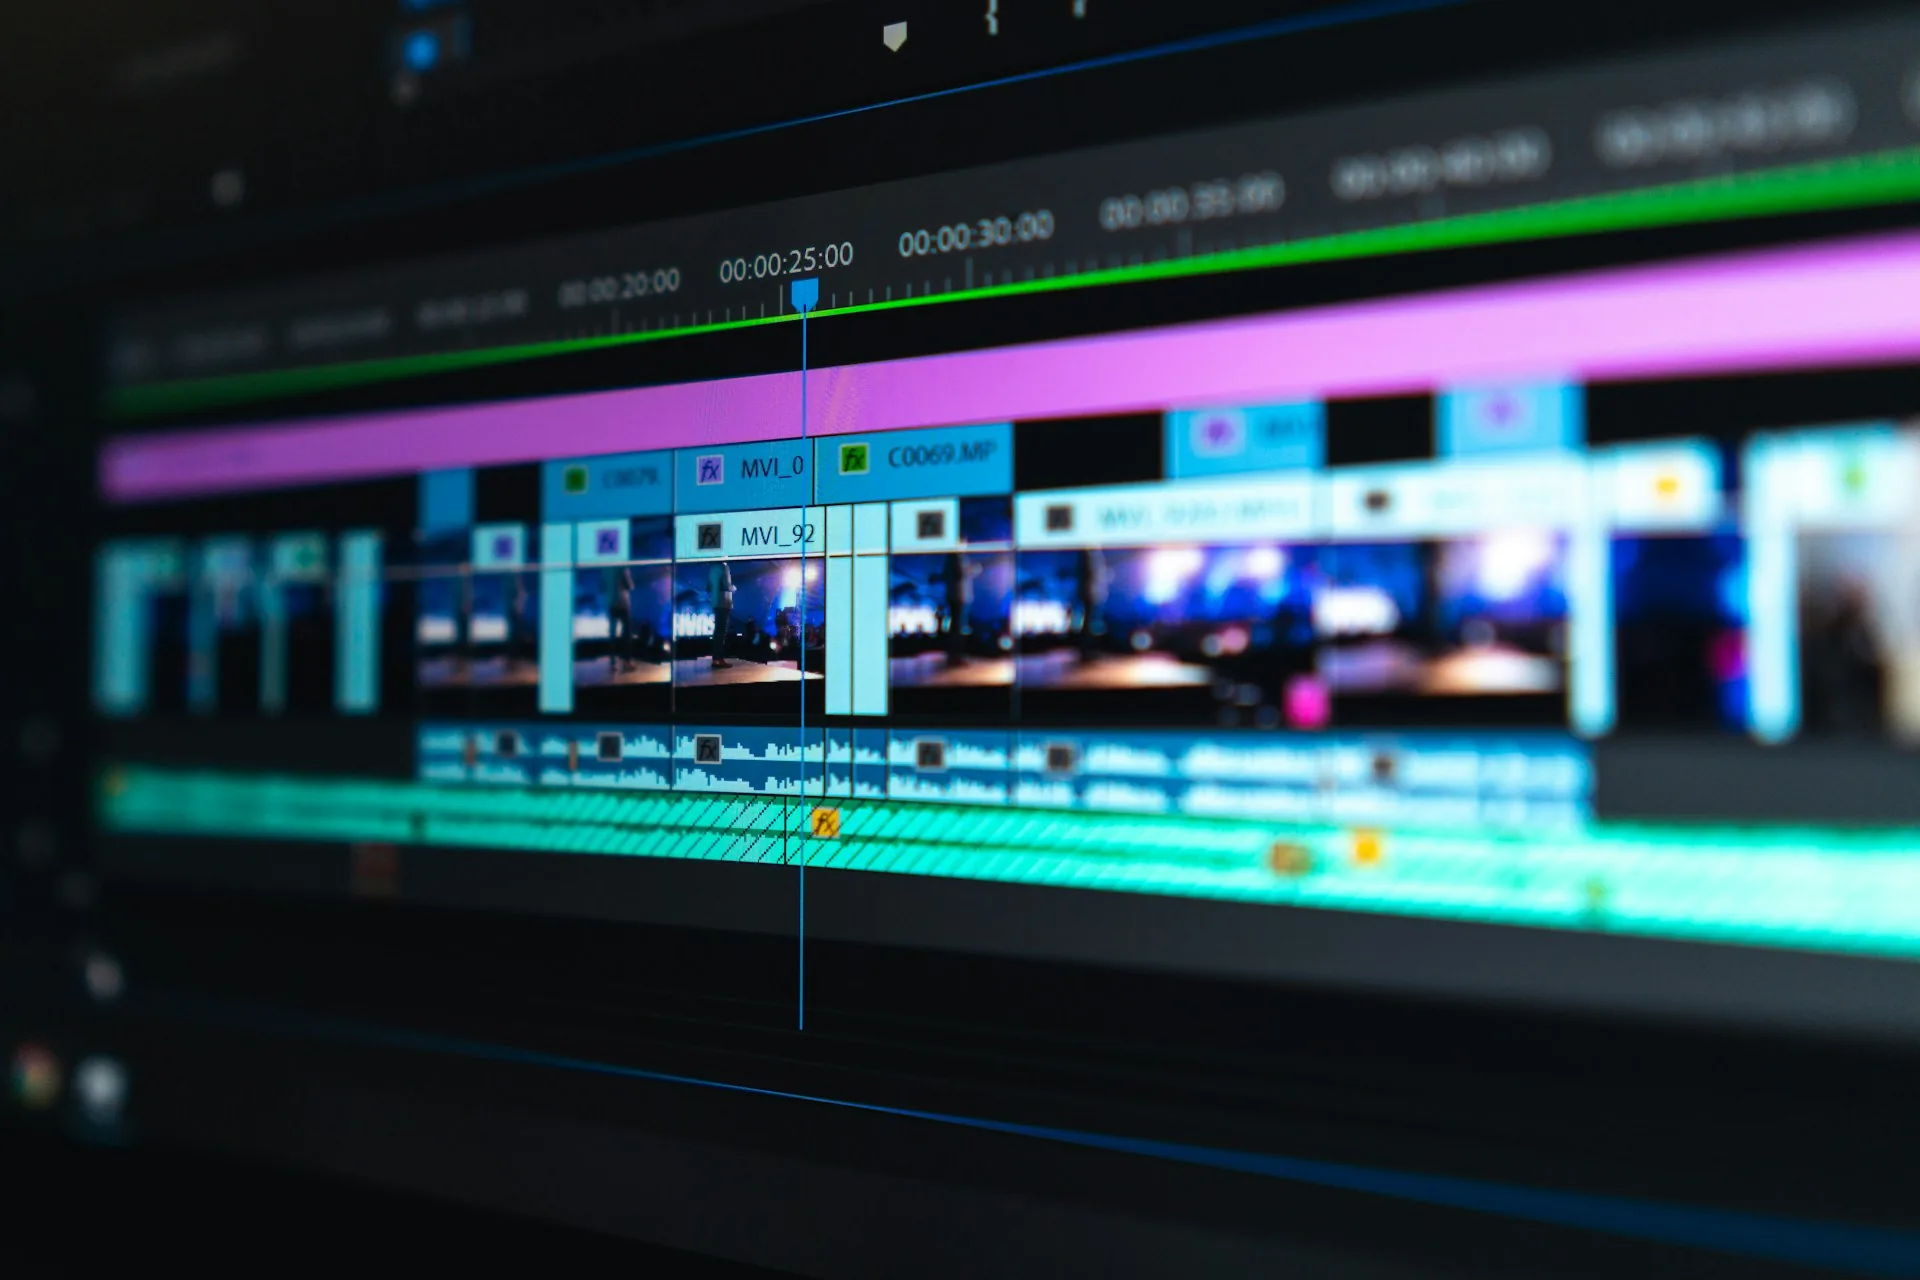
Common mistakes in corporate color grading
- Applying a film LUT to corporate footage without adjusting it afterwards. The look works on the preview frame and falls apart in motion with real people.
- Not calibrating your monitor. Any color work done on an uncalibrated screen is work you'll have to redo.
- Using the same look for interiors and exteriors without adapting the base white balance. The result is inconsistent even if the LUT is the same.
- Oversaturating skin tones. The viewer is deceptive; the vectorscope tells the truth.
- Not keeping the original ungraded file. If the client changes their mind about the look, you need to be able to start again from scratch.
- Grading before the edit is locked. If shots get swapped afterwards, the color work has to be redone.
Frequently asked questions
Do I need to shoot in Log to get a good color grade?
It isn't essential, but it helps. Log profiles compress exposure and retain more information in the highlights and shadows, which gives you more room to adjust in post-production. If you shoot in a standard Rec.709 profile and the exposure is correct, you can still produce a perfectly good grade. The difference shows in high-contrast situations: a bright window behind the interviewee, for example.
How long does it take to color grade a corporate video?
A well-shot 3-to-5-minute interview video takes between 1 and 2 hours. If there are lots of B-roll shots with changing light, or if the footage has underlying problems, it can go up to 3 or 4 hours. This is part of the post-production budget and should be made clear from the start.
What's the best software for corporate color grading?
DaVinci Resolve, in either the free or the Studio version. For corporate video, the free version covers 95% of what you need. Premiere and Final Cut have decent color tools, but DaVinci's node-based workflow and scopes are superior for serious color work.
Can you color grade on an ordinary laptop?
It depends on the footage. For H.264 or H.265 from a conventional camera, a modern laptop copes well with the free version of DaVinci. For RAW or ProRes from more demanding cameras you need a decent graphics card or proxies. The biggest limitation is almost always the monitor: if the screen isn't calibrated or has a narrow gamut, the color you're seeing isn't real.
Color grading shouldn't be an extra tacked on at the end because something's missing. It's part of the production from the moment you choose the color profile you'll shoot in. If you're planning a production and want the final result to be visually consistent, you can get in touch through the contact page.